What's On

September 2016
This cello needs a new neck. The original neck had a very low neck step, (how high the neck sticks out above the front where it comes out of the body of the cello), but still was at an angle that would give a very high elevation. This means the strings have to go in a relatively steep angle over the bridge. It wouldn't sound well and it would be impossible to cut a bridge that high that would still function well.
First the scroll and the old neck are removed from the body.
|
The bottom pegholes in the scroll are bushed to make cutting the mortise for the new neck easier.
|
|
|
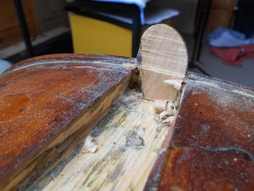
The new neckblock is fitted and glued into the scroll mortise and the new pegbox is cut.

|
|
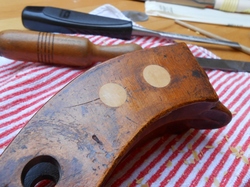
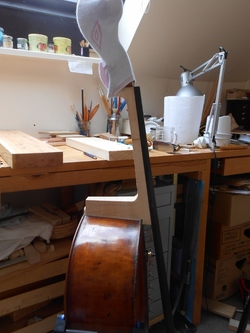
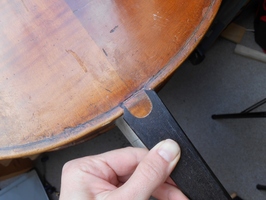
In the mean time I've cleaned up the neck root mortise. It was filled with a hard resin and the button was loose. You can still see the filler and some remains of the old neck glued to the button in the picture left. The mortise is then filled with new wood. The button has been reinforced with a small patch and later will get an ebony crown as it is quite small. |
|
|
This month also I spent some time working with violin maker Helen Michetschläger in Manchester. It is inspiring and refreshing to work together with other violin makers, and of course socially enjoyable. This time I worked on a cello fingerboard while I was there. It was good timing as around the same time the new fingerboard for this cello was in the making, so I got in the swing.
|
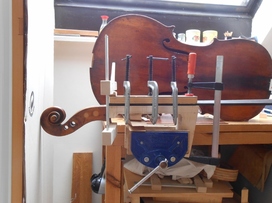
When the fingerboard is glued on, the neck can be shaped and it can be fitted into the body. Quite a complicated process with lots of angles and alignments to get right. |
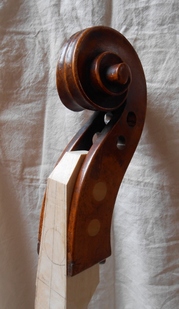
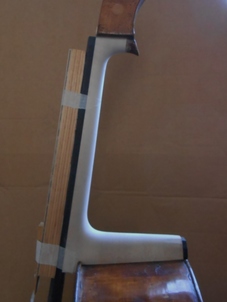
Here the neck is fitted but still square. The precise shape is very important for the player. Before gluing it in I will do as much of the neck shaping as possible. It is much easier to handle without the body attached.
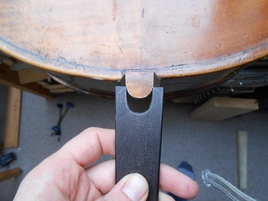
If you look carefully you see the button is very small in this picture. It will get a crown fitted out of ebony.
|
|
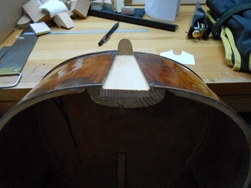
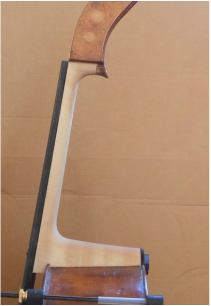
Here the neck and the button crown are both glued in place. The neck is mostly shaped. Only a little bit to do in the button area: |
|
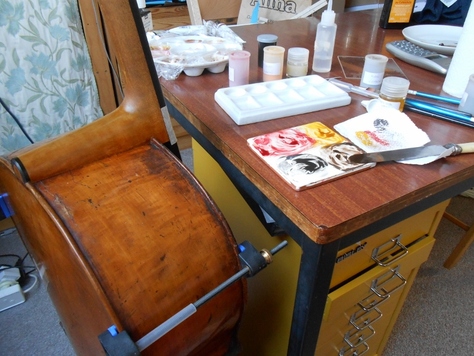
And finally, some colour and varnish