WINTER 2018-2019
Over the summer and autumn I have been busy working in the workshops of Philip Brown Violins in Newbury and The Royal Academy of Music in London. In between some instruments came into my own workshop for restoration and set up adjustment, and now two new violins are progressing steadily.
After the ribstructure for the first violin was finished, I used it to draw the outline on the front and back plates. The first of these two sibling violins will be made out of maple I bought in Elston, UK, in 2006, when it had been seasoned for a few years already. This is English maple, quite unusual to use for a Stradivari model, but I like it very much. This particular piece shows many of the speckles you see in violin bridges. I made another violin out of this wood in 2008, when I was finishing my studies at the Newark School of Violin Making. It turned out well and was selected by the first violinist of the Allegri Quartet, to be played in the Diploma Concert, so I have good hope for this new one.
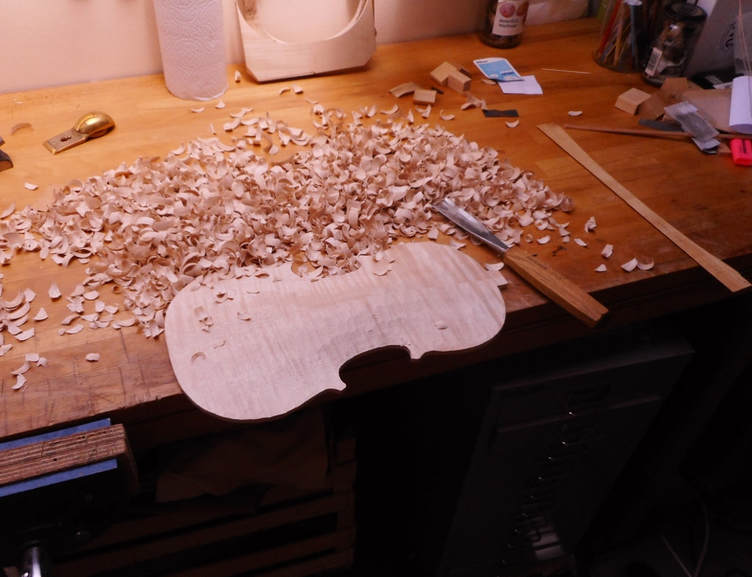
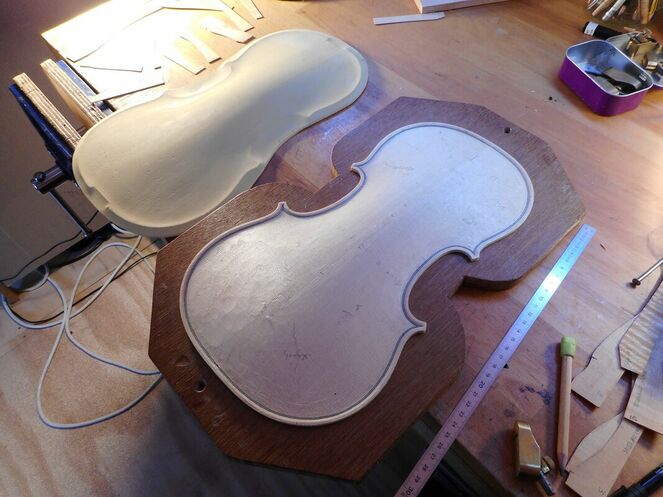
In the picture above the back outline has been roughly cut out of the maple, and I'm doing some of the rough arching, before finalising the outline. It is easier to do that when the edges are a bit thinner. When the outline is done I'll put in the purfling, and then do a bit more arching.
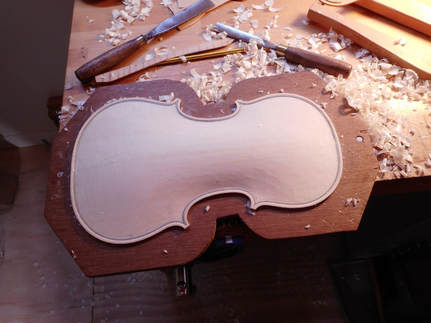
In the mean time the front has also been purfled and rough arched, and I'm taking the ribstructure off its mould. This is quite a nice job to do on a dark winter's afternoon when you potentially feel more like hibernating than making important decisions on arching shapes. I'm also doing it at this stage to free up the mould for the ribstructure of the sibling violin, so that it can catch up and get to the same stage as the first violin.
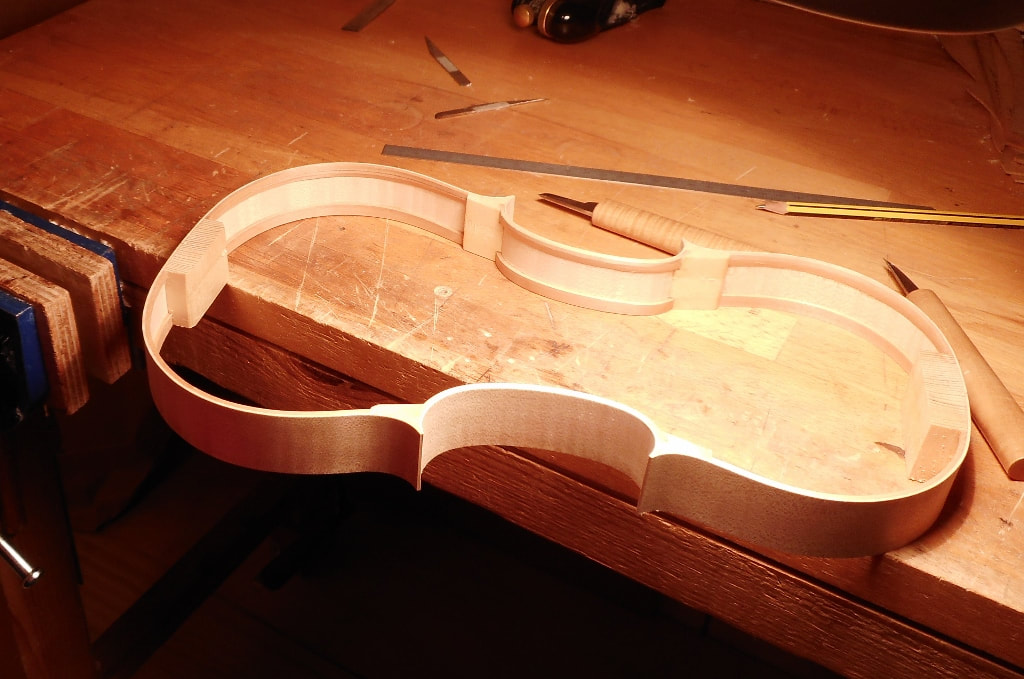
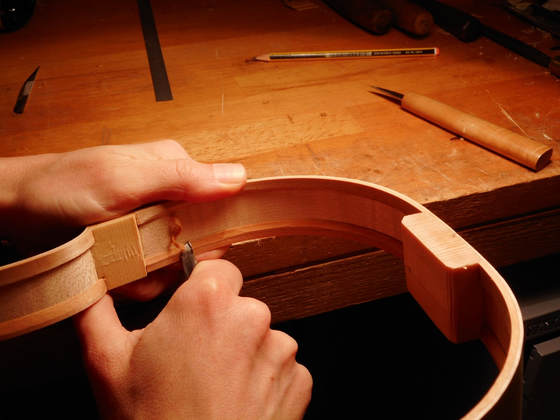
Here the ribstucture of the number one violin is off the mould. On the corner block, between my right and left hand, you can still see from some loose fibres and glue remains where it was attached to the mould. The blocks will be cut back to a smaller size later, to loose unnecessary weight. Then you won't see the attaching place any more. In this picture I'm cutting back the linings.
In the slideshow below you see the ribstructure for the number two violin being built.
In the slideshow below you see the ribstructure for the number two violin being built.
|
|
With the second rib structure finished I can now take the outlines of the front and back for the number two violin, cut them out and arch them.
|
|
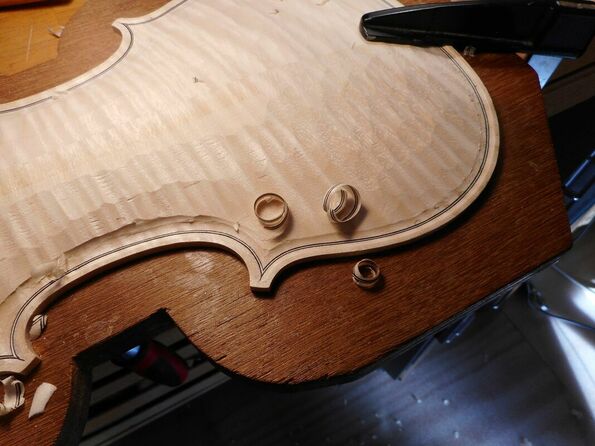
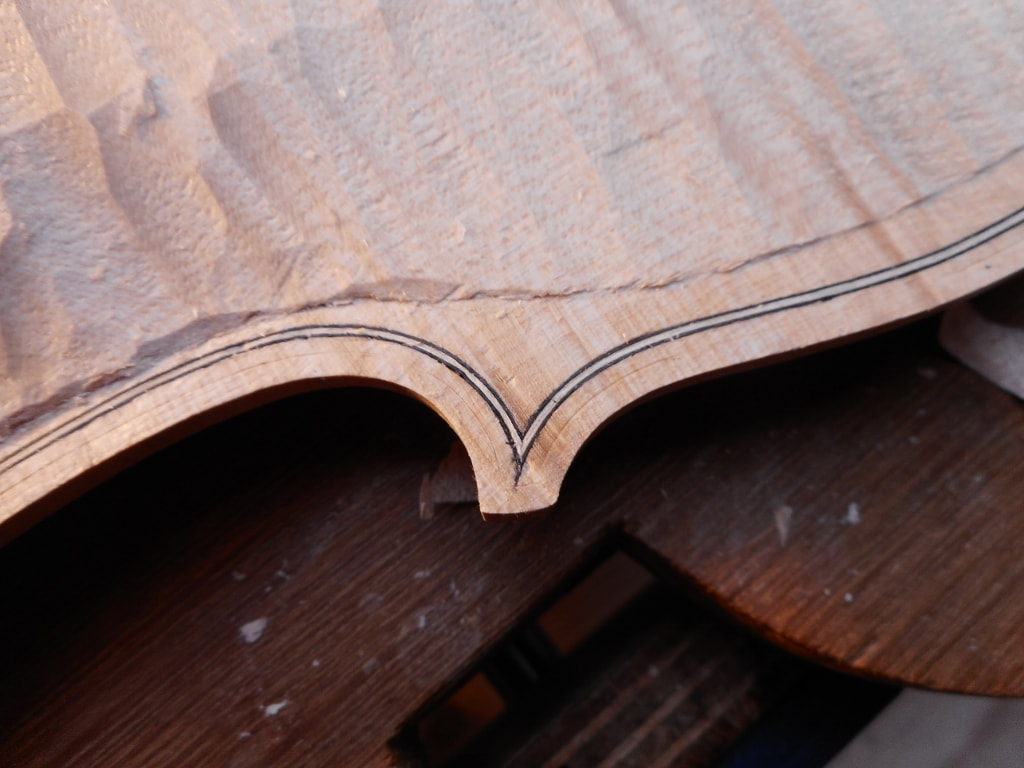
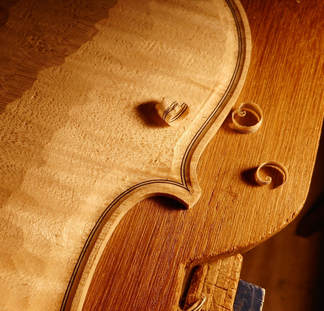
With the outline finished and the arching roughly shaped the purfling is inlaid around the edge.
In this photograph the fluting is being cut: a concave area around the edge. It defines the thickness of the plate around the edges, and also the shape of the arching. Both determine an important part of the sound and working of the finished instrument.
In this photograph the fluting is being cut: a concave area around the edge. It defines the thickness of the plate around the edges, and also the shape of the arching. Both determine an important part of the sound and working of the finished instrument.
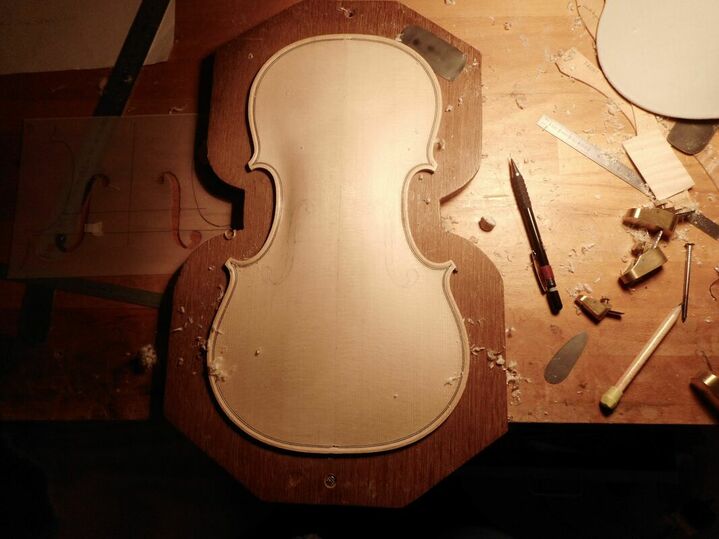
Back to violin number one. Time to refine the arching and draw on the f-holes:
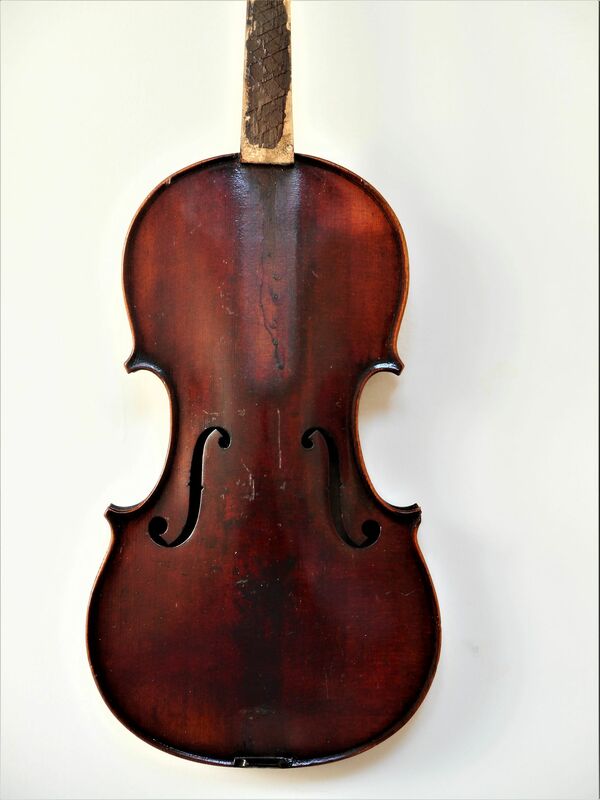
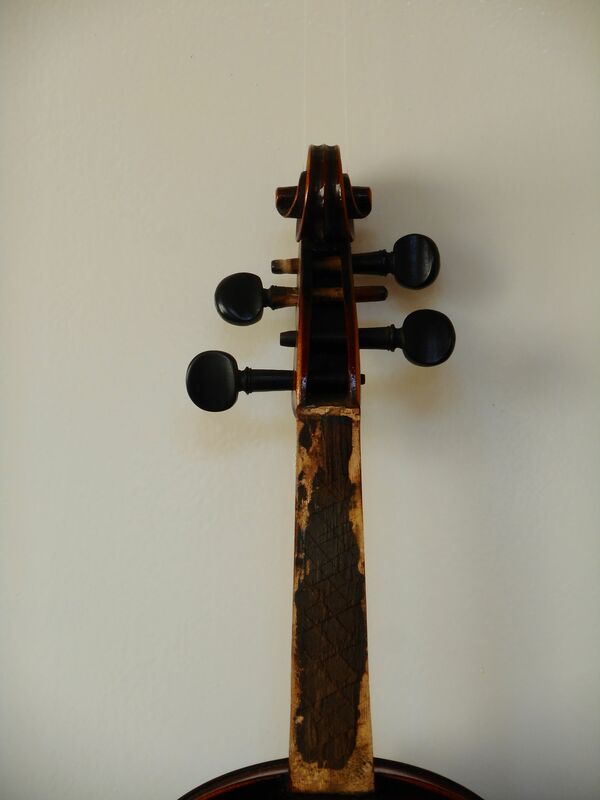
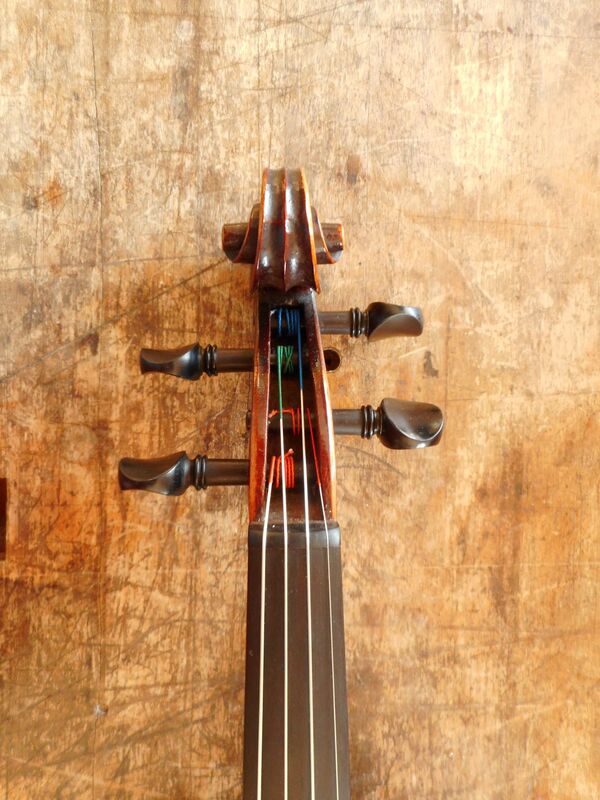
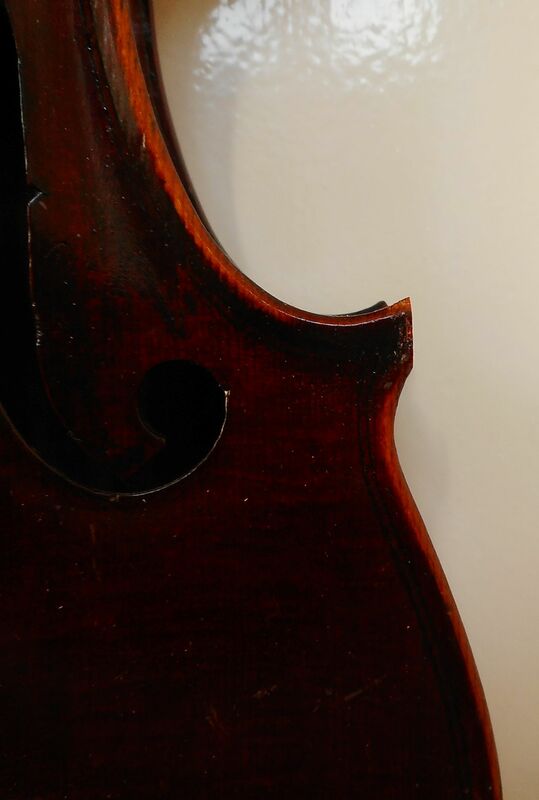
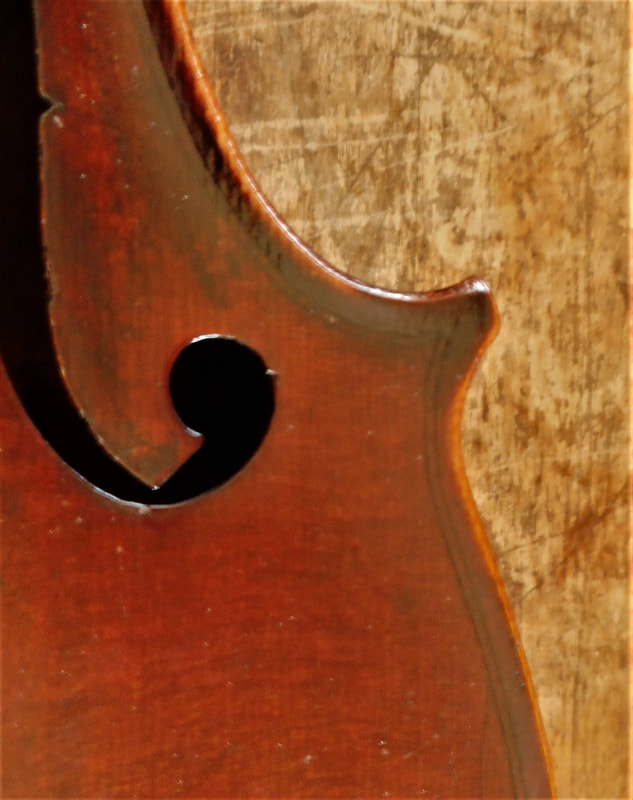
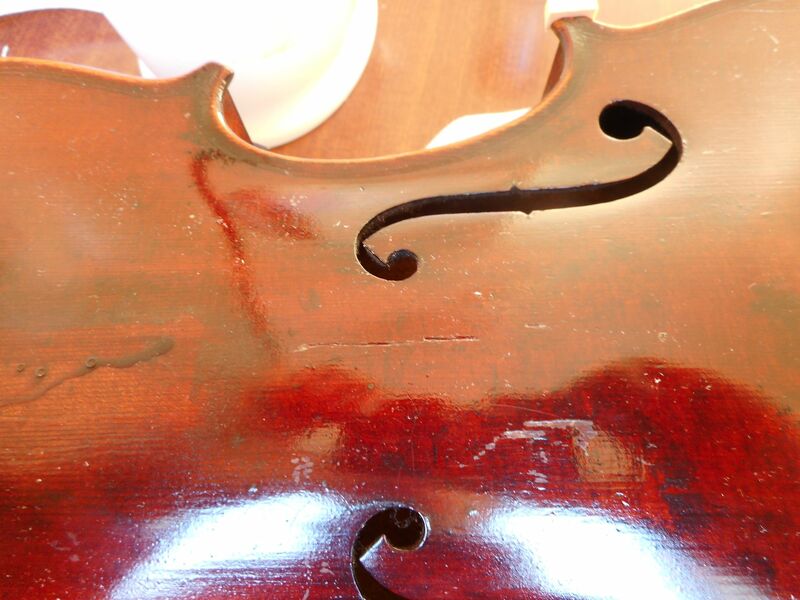
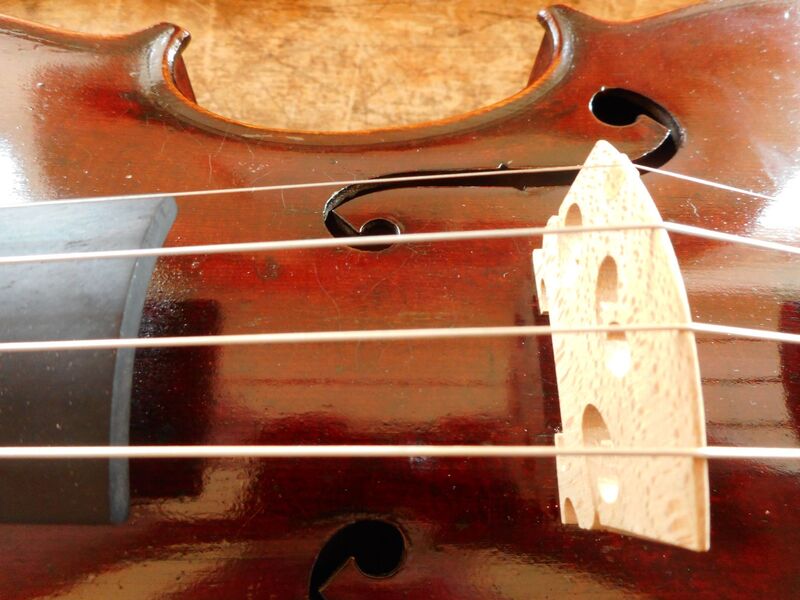
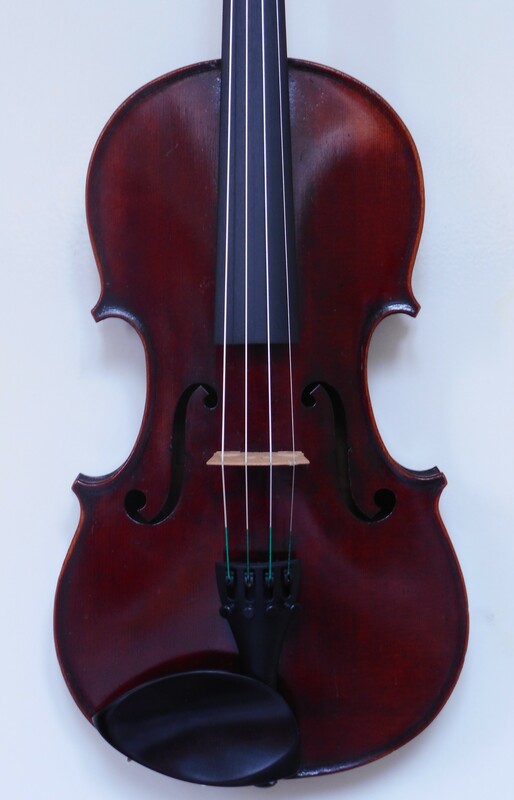
In the mean time various repair projects are coming in. Here you see a French violin getting a new set up with a new fingerboard and pegs, varnish retouching and a small corner repair:
