Spring 2021
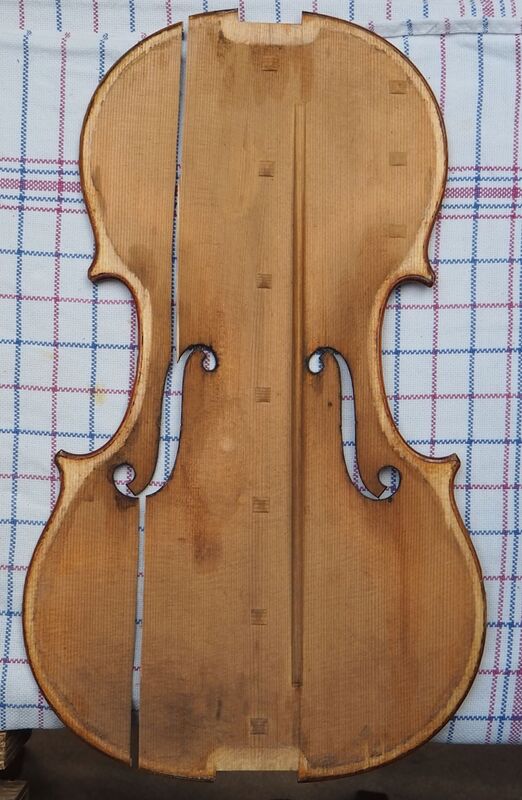
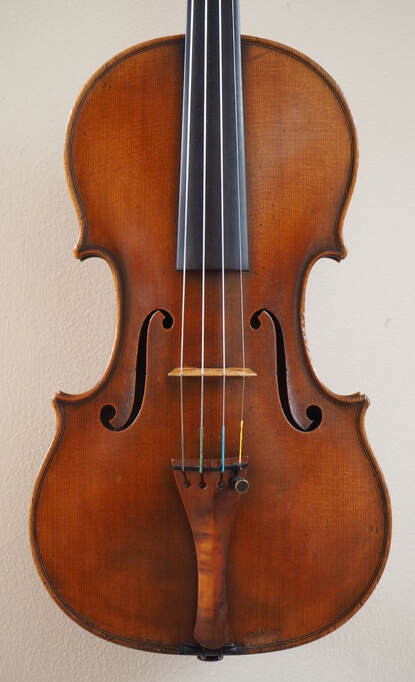
One of the projects on my bench this spring and summer was a Hill violin. It had fallen out of its case and obtained some cracks in its front. As a result the front was in two pieces. Luckily there was no sound post crack. The violin is from 1903 and apart from these new cracks it was in a very good condition. Only two small old cracks were in the front before.
|
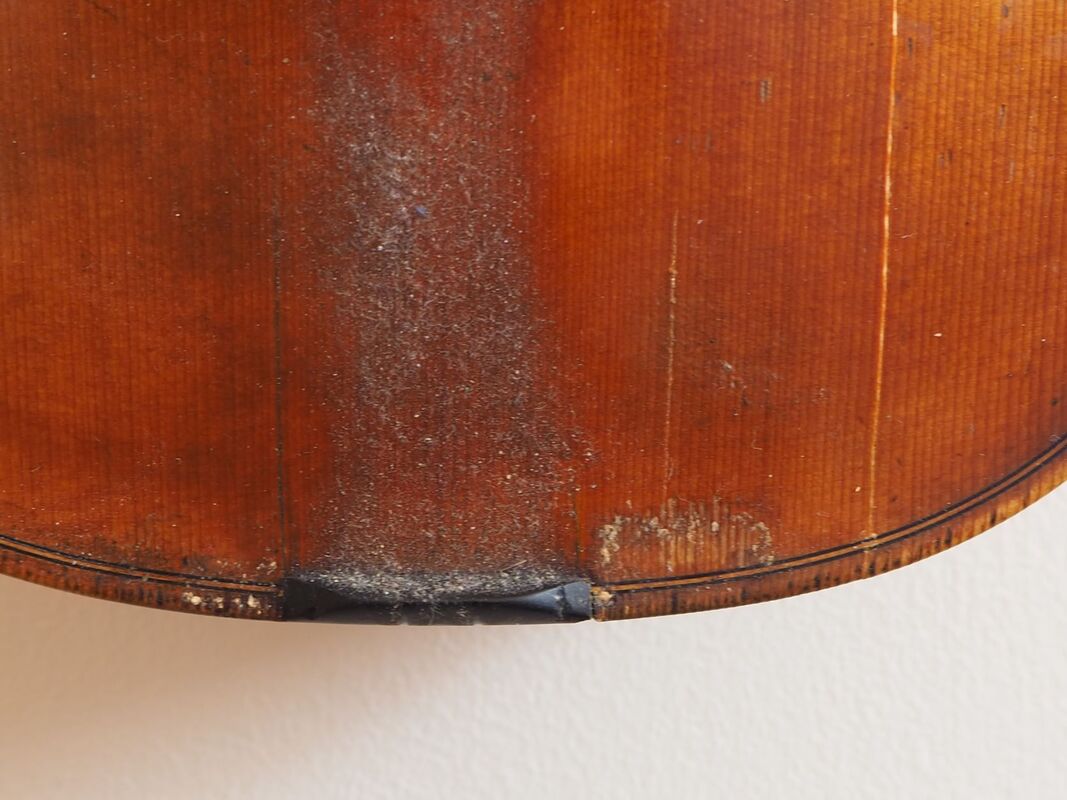
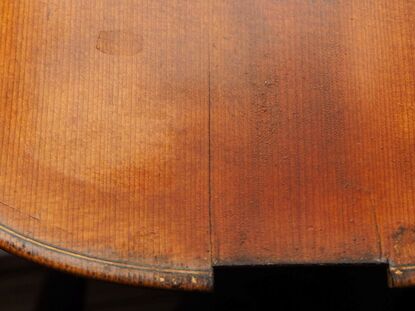
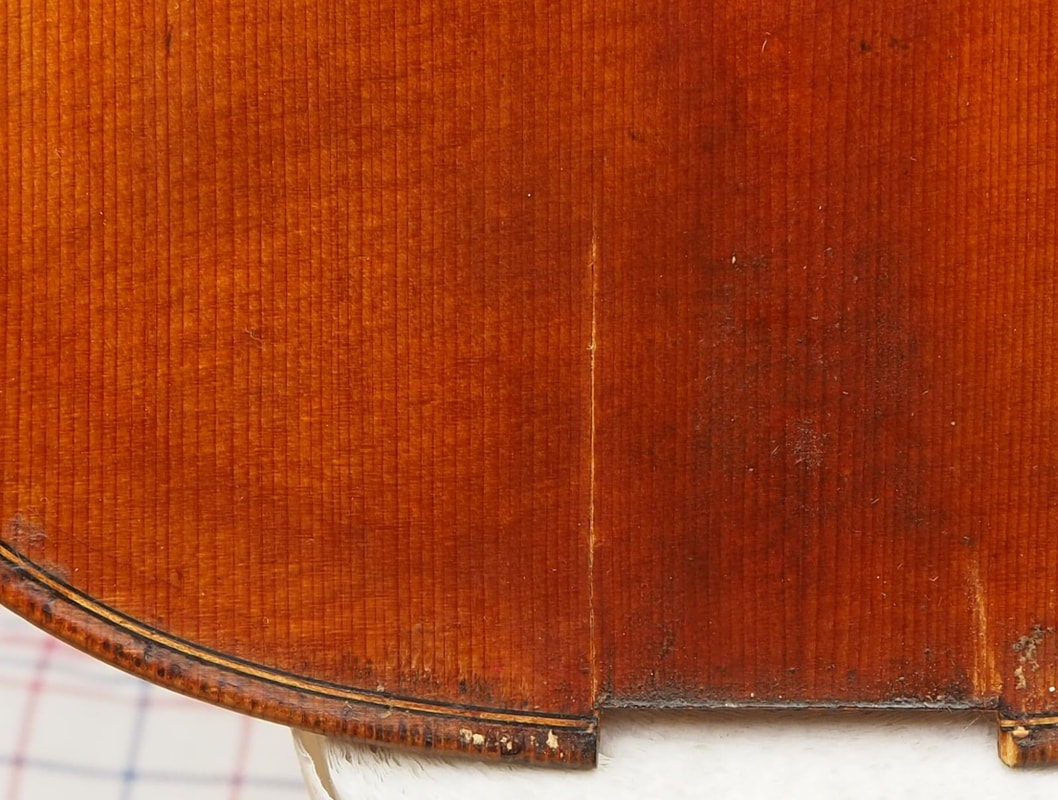
The front is in two pieces, and there is a smaller third new crack in the lower bout, as well as an old black one that has re-opened with the fall.
|
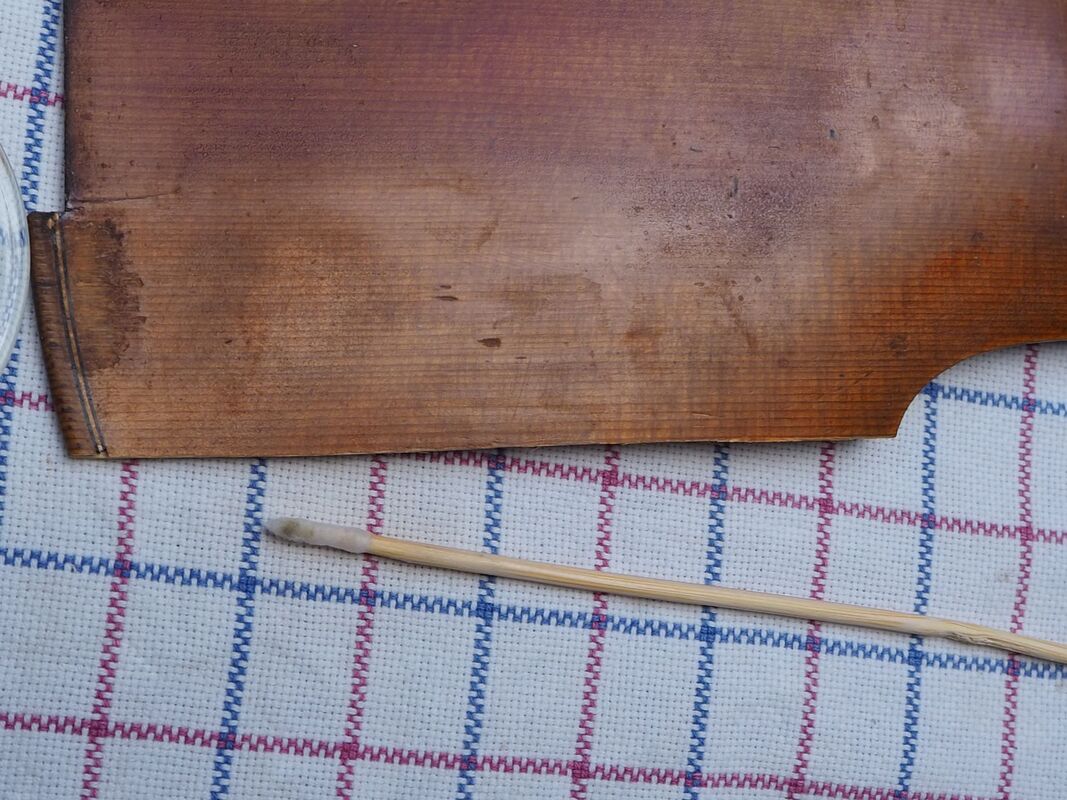
The new cracks are clean, because they are fresh, but to prevent dirt from the outside of the violin washing into the crack in the glueing process, the violin has to be cleaned carefully. It has a beautiful soft varnish that washes away easily, so it has to be done very gently.
Then we fit small blocks along the sides of the crack, so that there is something to hold on to for clamps, and we can pull the sides of the crack together.

With the clamps and with wedges in between the blocks we can control the glueing angle, so that the arching of the front doesn't become pointy or sunken along the crack.
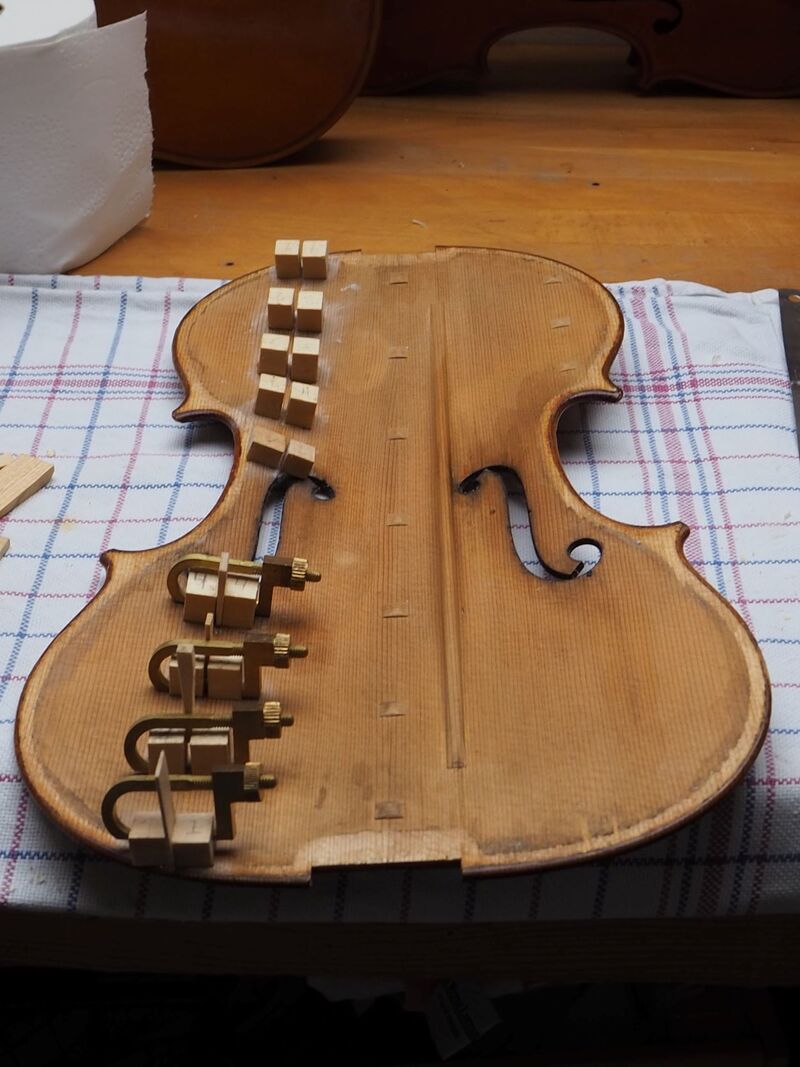
I needed several attempts at the top half of this crack, above the f-holes, because transition in the arching shape between the c-bout and the upper bout make it difficult to get the crack together in the correct angle. In the end it worked.
The old crack below the bass bar was quite dirty. It had to be cleaned first before it could be glued.
The old crack below the bass bar was quite dirty. It had to be cleaned first before it could be glued.
|
|
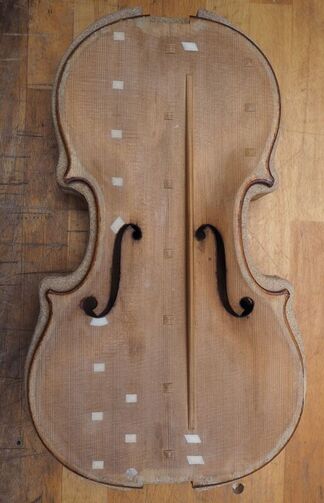
After glueing the crack all the blocks, clamps and wedges are removed from the inside, and small studs are fitted across the cracks to reinforce them. Then the front is fitted back onto the instrument, and the cracks are retouched.
|
|