Spring 2018
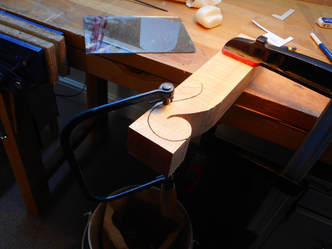
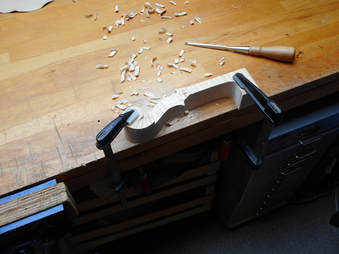
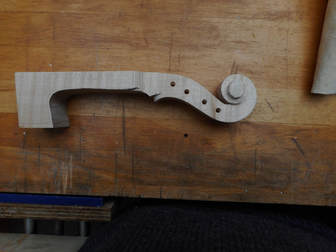
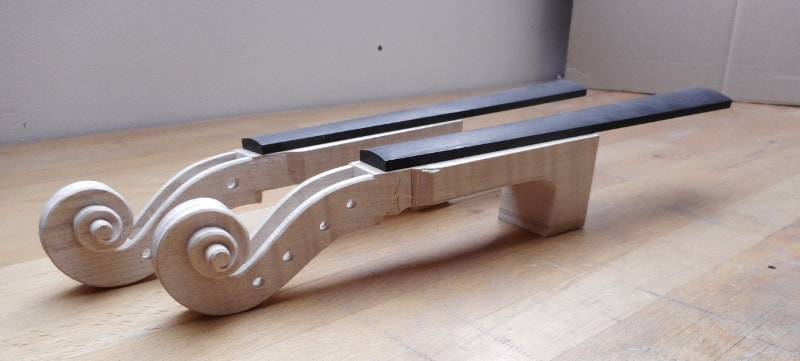
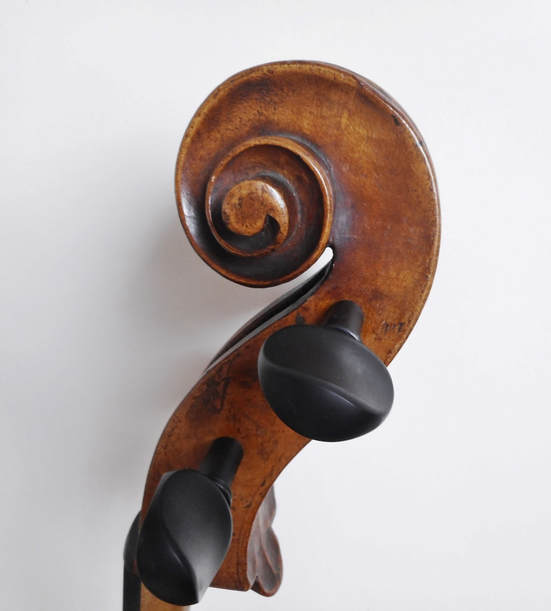
I've been working on my two new violin scrolls a bit more. It is fun to see the three dimensional shape appear out of the square block. I'm using a plaster cast to help me see the lines and shapes.
|
|
|

|

|
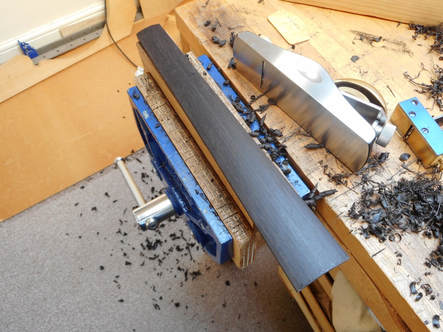
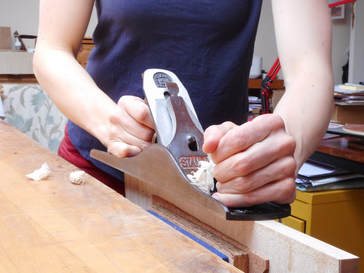
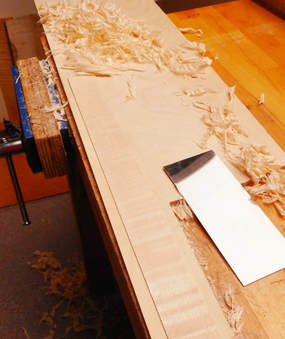
Here a fingerboard is being prepared to go with one of the scrolls. I quite enjoy this job. I like planing it to the exact right geometrical shape, with an even radius and the right scoop and with even shavings that leave no bumps in the surface. |
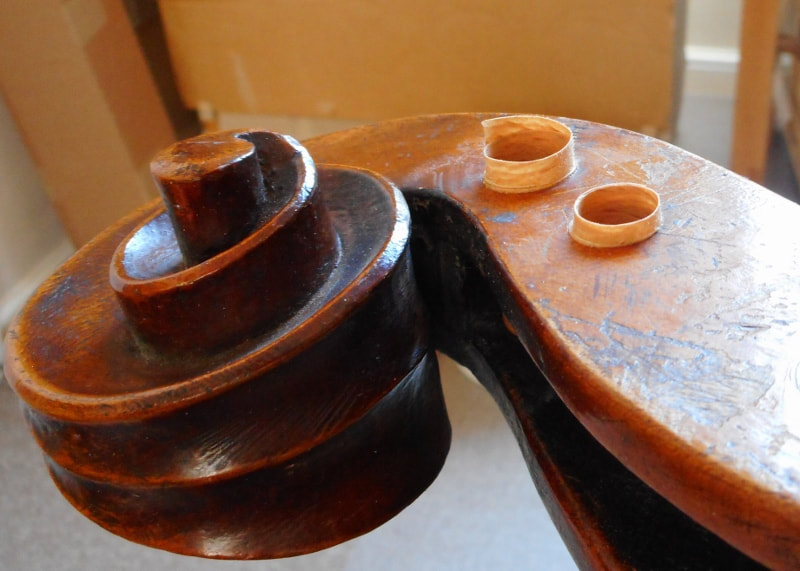
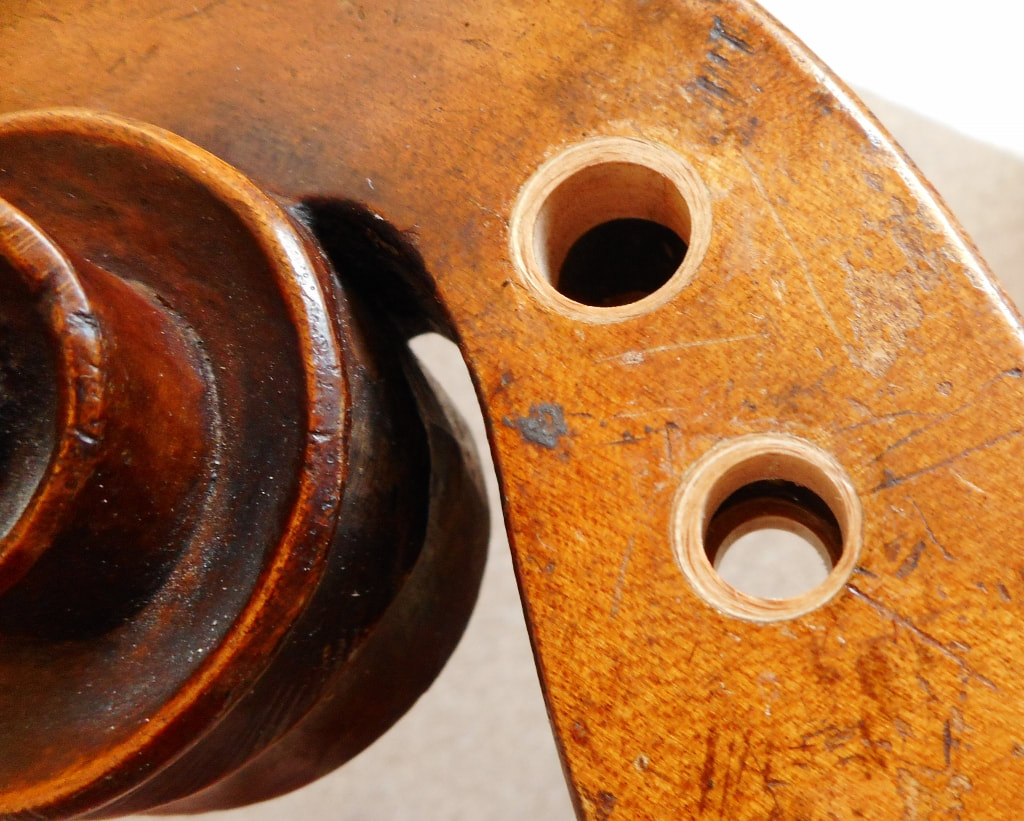
In the mean time a cello has come in for set up. In this case it needs sorting out its pegs too. The holes have become quite big over time, and the original pegs are lost. So I would like to make the holes smaller and fit in new pegs with a more convenient diametre. The hole for the A string peg is also very close to the upper edge of the pegbox wall, so that cracks can easily appear there. To make the hole smaller I use shaving bushings. The shavings go round the inside of the hole. They not only make the hole smaller that way, but because the woodfibers go along the hole they also reinforce it. Good for vulnerable places: to reinforce repaired cracks or where cracks could appear.
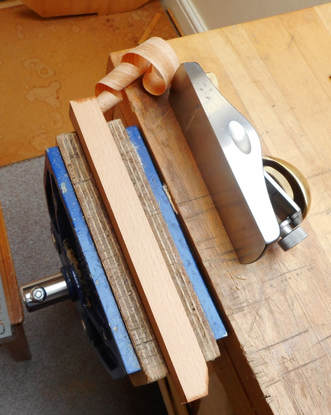
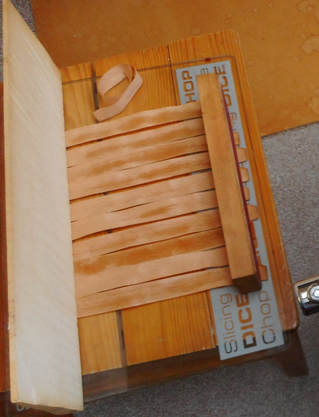
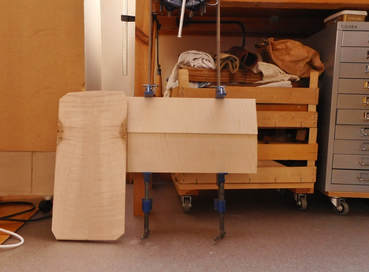
It happens that I have run out of peghole shavings, so I'm having a shaving production session first. I like them to be reasonably thick, especially for cellos, but not too thick because then they won't go into the hole nicely. To make the plane cut well I wet the wood first with hot water. The wet shavings then want to roll themselves up, so I let them dry stretched out with some weights on them.
It happens that I have run out of peghole shavings, so I'm having a shaving production session first. I like them to be reasonably thick, especially for cellos, but not too thick because then they won't go into the hole nicely. To make the plane cut well I wet the wood first with hot water. The wet shavings then want to roll themselves up, so I let them dry stretched out with some weights on them.
|
|
While the shavings are drying I clean out the pegholes in the cello. Then I cut the shavings to a workable length and glue one at a time into each peghole.
If you need the holes to be quite a lot smaller, you also have space now to slightly move the centre of the hole while you are filling it with shavings. For example to move the hole up or down so that the strings of the upper pegs do not run over the other pegs, or move them up so that there is enough space for the string between the bottom of the pegbox and the peg, and the string doesn't get jammed underneath the peg.
I keep gluing in shavings until I'm happy with the size of the hole. Then the shavings are cut back to the level of the pegbox and the new wood is retouched, before the new pegs are fitted.
|
In this picture the pegs are fitting and the shavings have been retouched to the right colour, but it still looks a bit shiny around the upper peg. This I will matt down now so that it has the same appearance as the rest of the varnish.
|
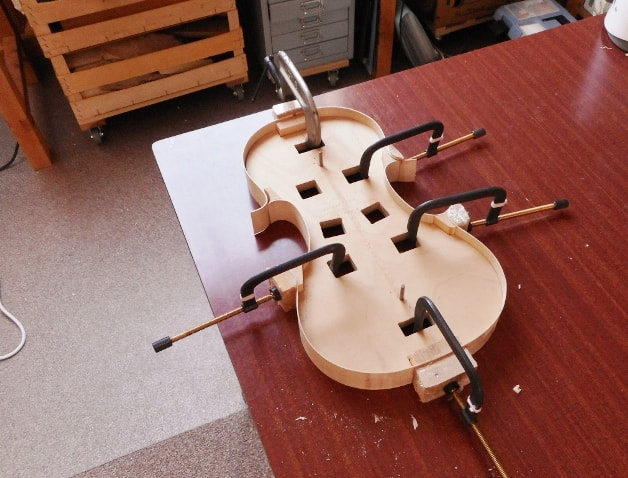
The two violins have also progressed a bit in between everything. Here the pieces of wood for the two backs are each being joined in the centre:
|
|
And the ribs are being planed and then scraped to thickness, so that they can be bent and then put together to form the rib structure.
|
|